Easy Homemade Crostini: Craft the Perfect Crispy Appetizer
Imagine a small, crisp slice of golden toast, perfectly seasoned, serving as the ideal vehicle for an array of delectable toppings. That, my friends, is crostini – and while the name might sound fancy, mastering how to make crostini at home is incredibly simple. Far from being an intimidating gourmet creation, these versatile little toasts are my secret weapon for effortless entertaining, whether it’s a casual wine night with a friend or a bustling party for a crowd.
Crostini offers an elegant touch to any gathering, providing a blank canvas for culinary creativity limited only by your imagination. They’re the quintessential partner for a glass of wine and engaging conversation, yet remarkably easy to scale up for larger events. Forget soggy bread or crumbling bases; once you learn the simple steps to creating a flawless homemade crostini, you’ll unlock a world of delicious possibilities that are always a hit.
Why Homemade Crostini Trumps Store-Bought Every Time
While convenience often beckons, particularly when preparing for a party, there are compelling reasons why homemade crostini is vastly superior to its store-bought counterparts. This isn't just about a subtle difference; it's about control, quality, and ultimately, a far more satisfying culinary experience.
- Unmatched Freshness and Flavor: Store-bought crostini, by nature, has been sitting on a shelf. Homemade crostini, made just hours before serving, boasts an unparalleled freshness that translates directly into a superior crispy texture and a clean, pure bread flavor.
- Cost-Effectiveness: Planning a gathering, especially a large one, can be expensive. A single baguette, often costing just a few dollars, can yield dozens of crostini slices. Compare this to the premium price tag of a small bag of pre-made toasts, and the savings quickly add up.
- Customization is King: Ever bought crostini only to find it overly salted, strangely spiced, or lacking the texture you desired? When you take on how to make crostini yourself, you dictate every element. From the type of bread to the exact amount of olive oil and seasoning, you have complete control. This means your crostini will perfectly complement your chosen toppings, without any unwanted competing flavors.
- Avoid Unwanted Ingredients: Commercial products often contain preservatives, artificial flavors, or unnecessary additives to extend shelf life. Making crostini at home ensures you're using only fresh, wholesome ingredients you trust.
In short, while store-bought might save you a few minutes, the difference in taste, texture, and overall quality makes the small effort of making your own crostini an investment that truly pays off.
The Foundation: Selecting Your Crostini Base
Just like a sturdy building needs a strong foundation, exceptional crostini begins with the right base. Your delicious toppings deserve a crunchy, flavorful platform that holds up beautifully without being overly hard or prone to crumbling. Getting this right is key to mastering how to make crostini that truly shines.
Choosing Your Bread
The traditional choice for crostini is a fresh baguette, and for good reason. Its slender shape, crisp crust, and relatively dense crumb make it ideal for uniform slices that toast beautifully. However, don't feel limited:
- Baguette: Opt for a classic French baguette, ideally one baked fresh the same day. Its long, narrow shape makes for perfect bite-sized rounds.
- Artisan Loaves: Experiment with other artisan breads like ciabatta, sourdough, or even a rustic whole-grain loaf. Just ensure they have a relatively tight crumb structure that won't fall apart when sliced thinly and toasted. Avoid very airy or soft breads, as they tend to become either too hard or too brittle.
- Day-Old Bread: While fresh is best, a baguette that's a day old is often slightly firmer, making it easier to slice thinly and consistently. It will still crisp up beautifully in the oven.
Essential Ingredients & Tools
Beyond the bread, you'll need just a few basic items to set your crostini foundation:
- Extra Virgin Olive Oil (EVOO) Spray: This is a game-changer! As the reference highlights, traditional brushing can be inconsistent and messy. An EVOO spray ensures an even, light coating on every slice, leading to perfectly golden, crispy results without excess grease. (For an in-depth look at this secret, check out our guide: Crostini Secrets: The Simple Trick for Perfectly Oiled Toast).
- Salt and Freshly Ground Black Pepper: Simple seasoning is often the best. A pinch of good quality sea salt and a grind of pepper enhances the bread's flavor without overpowering future toppings.
- Baking Sheet & Parchment Paper: Parchment paper prevents sticking and makes cleanup a breeze. A sturdy baking sheet provides even heat distribution.
Step-by-Step Guide: How to Make Crostini Perfectly
Ready to create your own crispy masterpieces? Here’s a detailed, easy-to-follow guide on how to make crostini that will be the envy of every appetizer spread.
- Preheat Your Oven: Set your oven to 375°F (190°C). This temperature ensures the bread toasts evenly without burning too quickly.
- Prepare Your Baking Sheet: Line a large baking sheet with parchment paper. This prevents sticking and makes flipping and cleanup much easier.
- Slice the Bread: Using a sharp serrated knife, slice your baguette (or chosen artisan bread) into thin, even rounds, approximately 1/4 inch thick. Consistency is key here for even toasting. Thinner slices will be crispier, while slightly thicker ones will offer more chew.
- Arrange on the Baking Sheet: Lay the bread slices in a single layer on the prepared baking sheet. Ensure none of the slices are overlapping, as this will lead to uneven baking. You may need to use two baking sheets depending on the size of your baguette.
- Evenly Oil and Season: This is where the EVOO spray comes in handy. Lightly mist the tops of all the bread slices with extra virgin olive oil spray. Don't drench them; a light, even coat is all you need for that perfect golden crisp. Immediately sprinkle with a pinch of sea salt and a grind of fresh black pepper.
- First Bake: Place the baking sheet in the preheated oven and bake for 7-9 minutes.
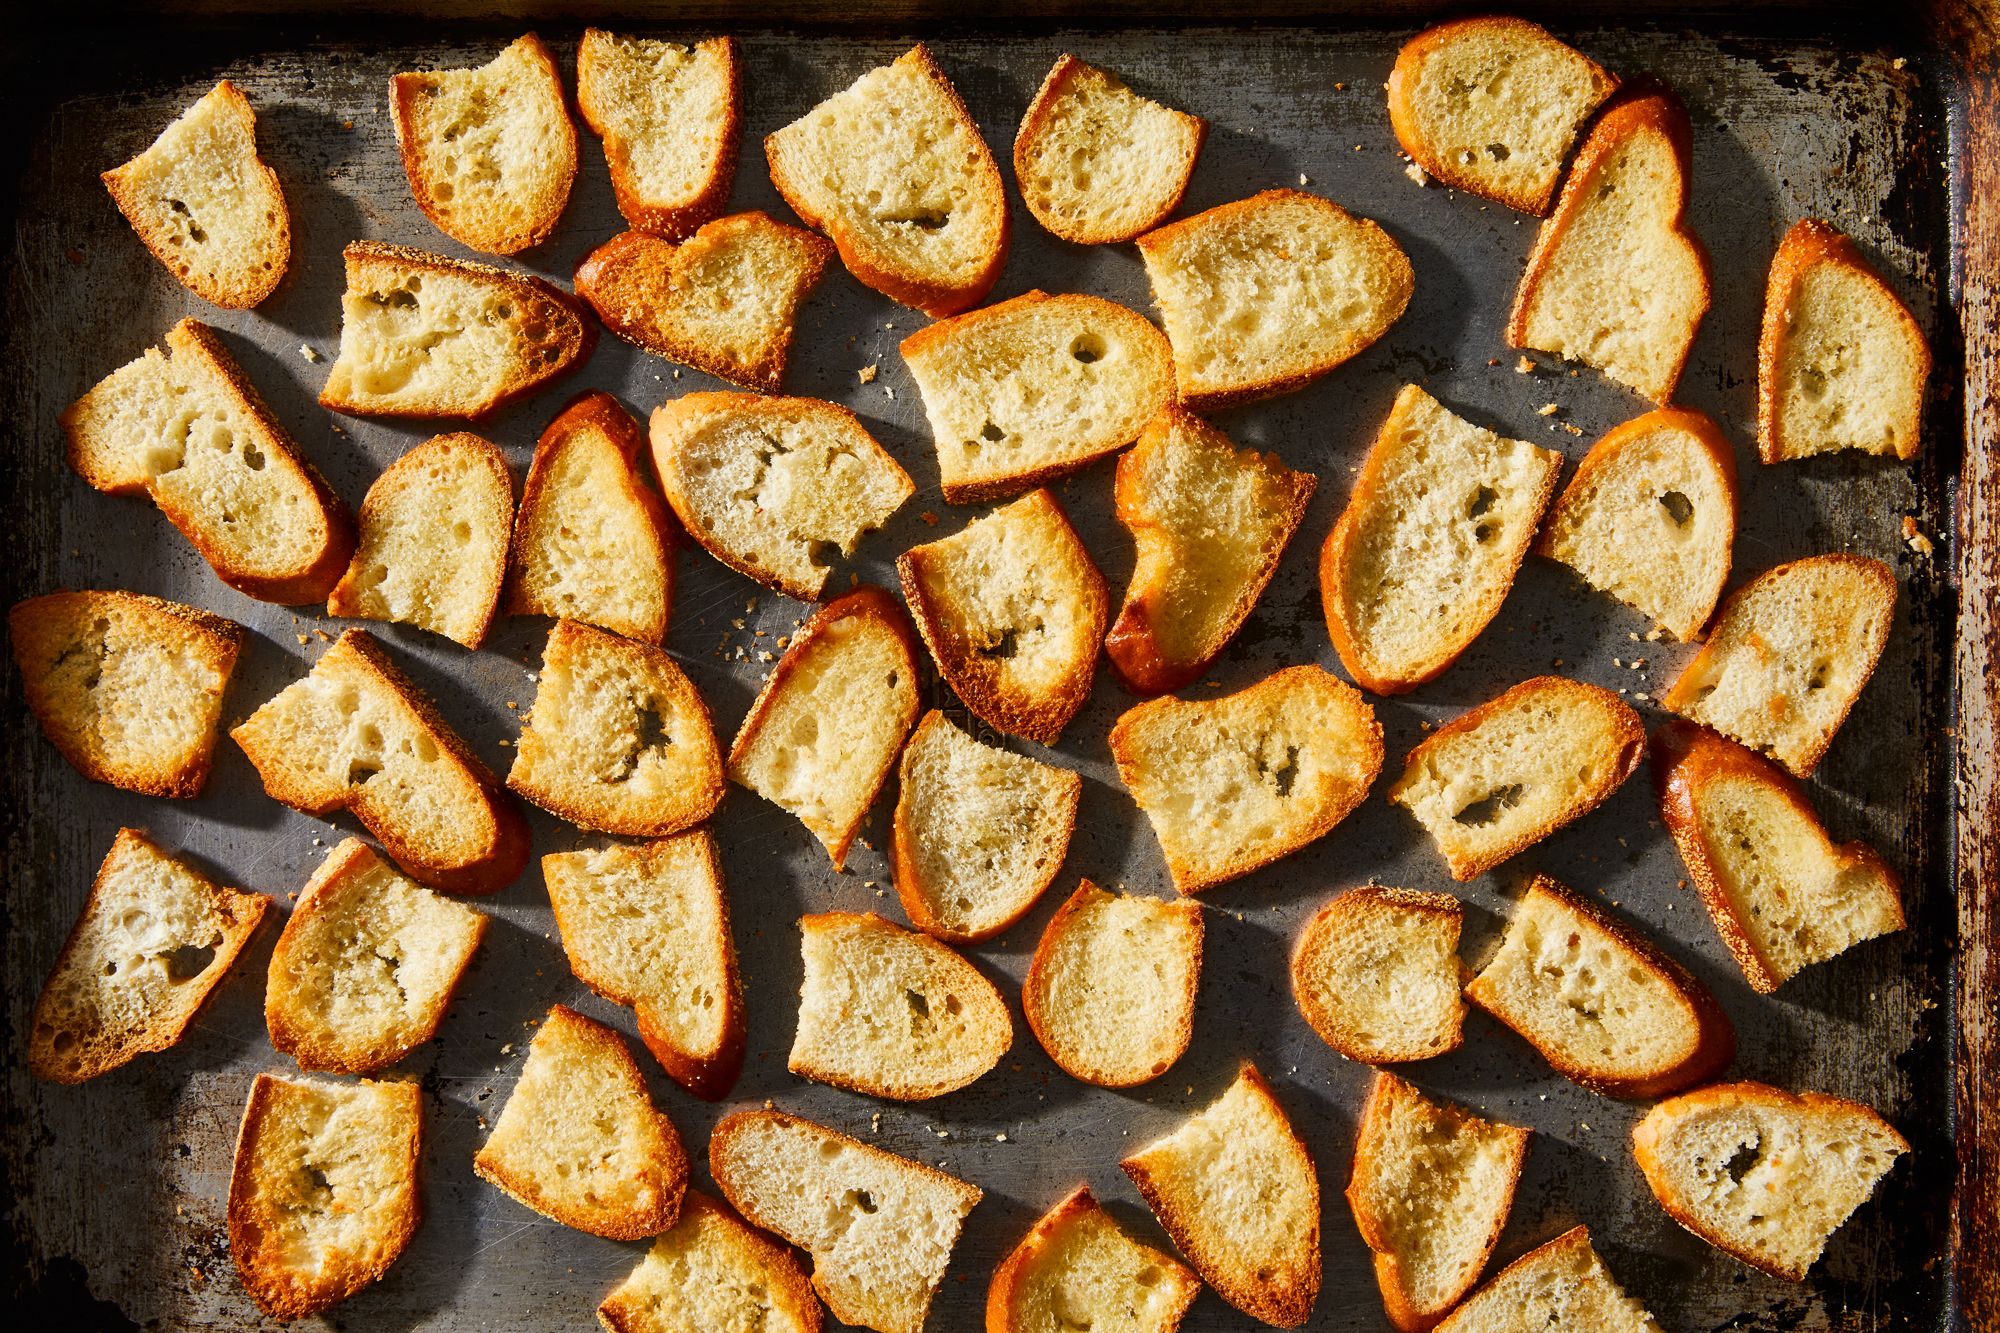
- Flip and Finish: Carefully remove the baking sheet from the oven. Using tongs, flip each crostini slice to toast the other side. Mist lightly with EVOO spray again if desired (especially if using thicker slices) and return to the oven for another 5-7 minutes, or until both sides are golden brown and perfectly crisp. Keep a close eye on them during the final minutes, as they can go from perfectly toasted to burnt very quickly!
- Cool Completely: Remove the crostini from the oven and transfer them to a wire rack to cool completely. This is a crucial step, as cooling on the rack prevents them from steaming and becoming soft on the bottom.
Once cooled, your homemade crostini are ready to be topped and devoured! If you're not using them immediately, store them in an airtight container or a Ziploc bag at room temperature for up to 3 days. They’ll maintain their crispness and be ready for your next culinary adventure.
Unleashing Your Culinary Creativity: Topping Your Crostini Canvas
Once you’ve mastered how to make crostini, the real fun begins: creating an endless array of toppings. The crostini truly is a blank canvas, inviting you to experiment with flavors, textures, and colors. From simple pantry staples to gourmet delights, there's a crostini topping for every mood and occasion.
Ideas to Inspire Your Crostini Creations:
- Classic Bruschetta: Diced ripe tomatoes, fresh basil, garlic, and a drizzle of balsamic glaze. A timeless favorite.
- Creamy & Savory: Spread with goat cheese, ricotta, or cream cheese, then topped with caramelized onions, roasted red peppers, sun-dried tomatoes, or a sprinkle of fresh herbs.
- Sweet & Savory Pairings: Try prosciutto with melon, fig jam with brie, or apple slices with cheddar and a drizzle of honey.
- Seafood Sensations: Smoked salmon with dill and cream cheese, shrimp scampi, or a delicate crab salad.
- Hearty & Robust: Sautéed mushrooms and thyme, a dollop of pesto, olive tapenade, or a mini meatball.
- Seasonal Delights: Use whatever fresh, seasonal ingredients you have on hand – roasted asparagus in spring, peaches and burrata in summer, butternut squash puree with sage in fall, or cranberry and brie in winter.
The beauty of crostini toppings is their versatility. Don't be afraid to raid your pantry or refrigerator! Leftover roasted vegetables, a spoonful of hummus, or even a quick homemade spread can be transformed into a delicious topping. Think about complementary flavors and textures: something creamy with something crunchy, something sweet with something salty, something acidic to cut through richness. For more inspiration and creative topping ideas, explore our article: Unlock Crostini Creativity: Versatile Toppings Start with the Base.
Tips for Topping Success:
- Don't Overload: Crostini are bite-sized. Keep your toppings balanced so they don't overwhelm the toast or make it difficult to eat gracefully.
- Consider Moisture: If using very moist ingredients (like fresh tomatoes), you might want to prepare them slightly ahead to drain excess liquid, or add them just before serving to prevent the crostini from becoming soggy.
- Balance Flavors: Aim for a harmony of sweet, salty, acidic, and savory elements.
Conclusion
Making homemade crostini is a skill that will elevate your entertaining game and delight your taste buds without demanding hours in the kitchen. From understanding the importance of the base to mastering the simple baking steps and unleashing your creativity with toppings, you now have all the knowledge needed on how to make crostini that is perfectly crispy, flavorful, and endlessly customizable. So grab a fresh baguette, your favorite olive oil spray, and get ready to toast up some magic. Whether for an intimate gathering or a lively celebration, your homemade crostini will undoubtedly be the star of the show!
